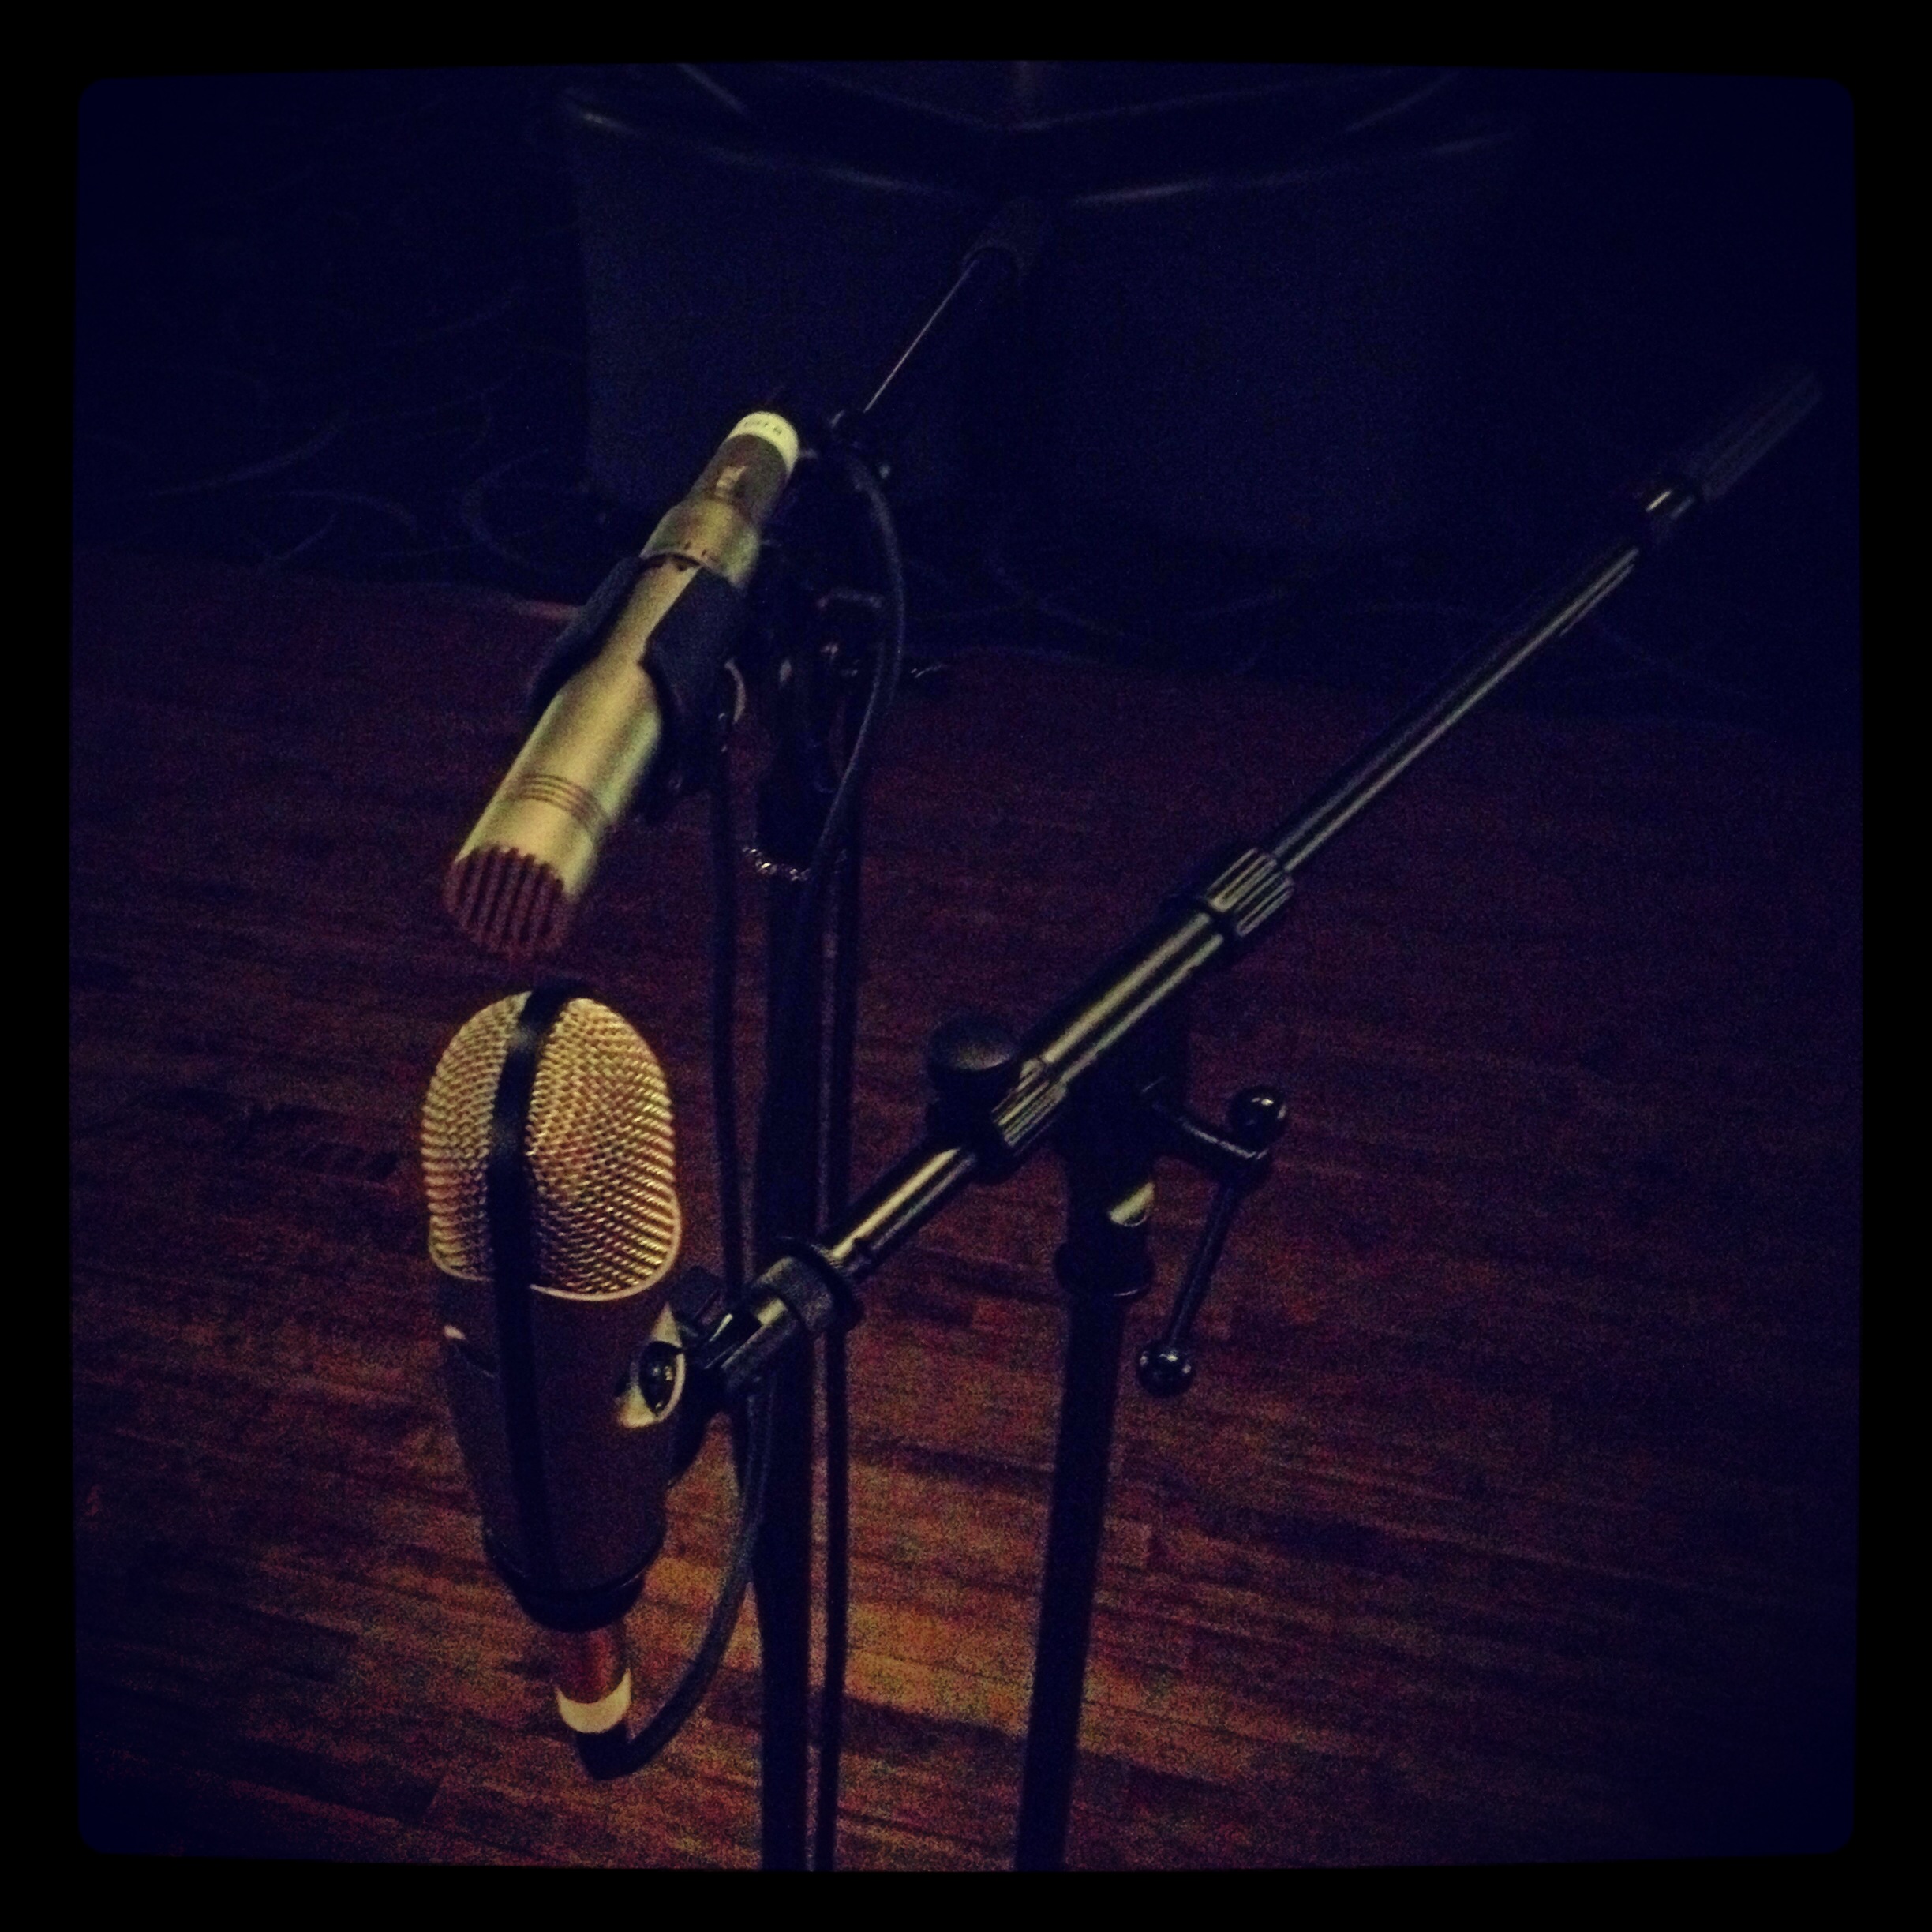
CAD GXL1200 & CAD M179 in Mid-Side setup
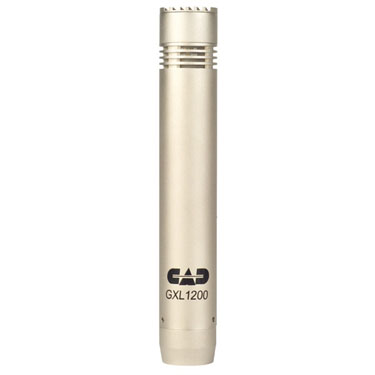
CAD GXL1200 SDC
So I have all of my drum mics setup, and everything is sounding great. I want to capture a the hugeness of the kit, so I setup a pair of room mics that I’ll later mix in to add a splash of natural reverb and echo.
Remember the equilateral triangle we setup for the overhead mics? The left and right mics were both 44″ from the center of the snare, and also 44″ apart from each other. Well, that number is going to come into play again as we add distant mics in the room.
To keep things simple an in phase, I used the 3:1 Rule. That is, distant mics should be 3 times the distance from the source as the other mics. So, since my overheads are 44″ from the center of the kit, I want my room mics to be 3 times that distance, straight out from the center. I got out the measuring tape and placed the mic stand 132″ (or 11 ft.) away.
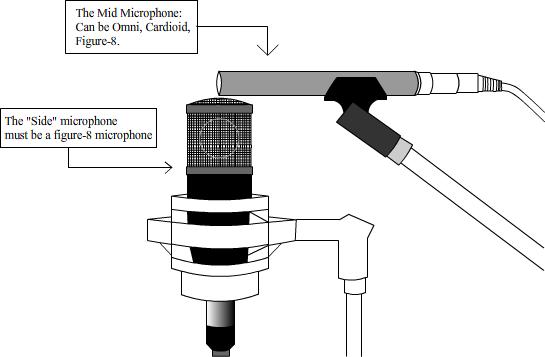
I decided to try the mid-side miking technique. I had never done it before, but it sounded interesting. What you do is take a condenser mic and aim it at the source. In this case, I aimed a CAD GXL1200 small diaphragm condenser (SDC) straight ahead at the drum set.
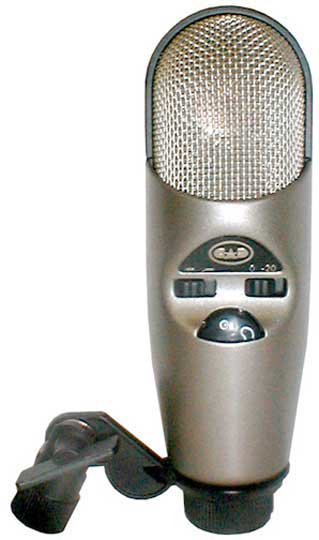
CAD M179
Then, directly below the capsule of that mic, you place another condenser mic in Figure 8 mode and aimed to the side. This mic must be able to do a Figure 8 polar pattern or the mid-side technique will not work. Here again I grabbed my trusty CAD M179 large diaphragm condenser (LDC) mic, put it into Figure 8 mode and positioned it so its aimed to one side of the room.
Ok, so we have 2 condensers setup: one aimed at the kit, the other covering one half of the room. How does that sound good? Well, if they’re both panned to center, it’ll sound alright, but nothing special. Now, leave the top mic at center, and pan the bottom Figure 8 mic hard Left. How’s that sound? Probably not too good — it sounds incomplete because one half of the stereo image is missing. This is where it gets neat and where mid-side technique is really cool
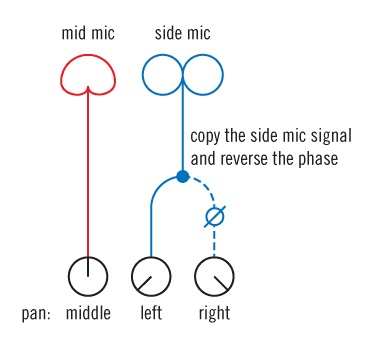
Mid-Side panning
Mute the top mic. You should now just hear the Figure 8 mic to the left. Take the feed from that Figure 8 mic and split it into 2 channels on your mixer. Pan the duplicate feed hard Right and phase invert it. Now listen. You should have a big wide stereo image field, but the center will sound hollow. Why? Because Figure 8 mics capture sound from both sides. You panned 2 copies of the same signal to the left and to the right, so the places where they join — the center of the stereo image — are exactly the same. They cancel each other and are silent, creating a gap in the center. Now raise the volume of your top, center mic. You should now have a huge, full stereo sound cover Left, Center and Right. It’ll sound very 3-dimensional, almost as if you are in the actual room, not just listening to it on monitors.
 Not only are you getting a 3-mic stereo spread from only 2 mics, but there’s also a practical benefit to this: if you collapse the entire mix down to mono, the two Figure 8 mics panned Left and Right will perfectly cancel each other out, leaving only the center mic audible. How cool is that? The need for mono-compatibility is fading out, but it’s still something to consider when you’re creating professional recordings that could potentially be played on many different sound systems. Some people swear by just single mono room mics, others do traditional X/Y, A/B, etc. stereo pairs… there’s really no wrong way. I went with mid-side because i wanted to capture the hugeness of the room, and also to try out a new mic technique. I’m very pleased with the results and would definitely use it again.
Mid-Side mic placement
[Side note: If you want to do mid-side but only have 2 open channels instead of 3, you can always just record the 2 mics as-is and then duplicate the recorded track in your DAW instead of splitting it out on the analog/mic side. In fact, to make it even easier, there are multiple plugins out there to M-S (mid-side) decode a track this way without even having to duplicate it. Whatever suits your workflow best.]
